
How to 3D Print Figures
Besides “how should I paint your figure kits?” the most common question I get is “if I download your files, how do I print them?” Well, I’m not going to do a full step by step tutorial on 3d resin printing because, frankly there are a million ways to do it and a billion YouTube videos already dedicated to laying out the process. Instead, I’ll just tell you about the methods, materials, and equipment that I personally use, and you can take it from there!
[UPDATED 8/5/25]
I’ll assume that if you’re here you have either downloaded some of my designs from Cults3d or are considering doing so, and are new to the whole 3d printing thing. If you’re more advanced than that, then you may want to skip down a few paragraphs.

If you download my files, you’ll see that each figure is separated into STL files for each body part and accessory. This allows you to use a slicer (software that prepares 3d models for printing, such as Lychee, Cura, or Chitubox) to arrange the parts on the printer’s print area as individual pieces. Once prepared in the slicer, the pieces can be printed all at once, and the end result is a figure that can be assembled and will therefore be articulated.
(I recently made a tutorial video that shows how I do my slicing for basic action figure parts: check it out!)
TIP: I personally use Lychee Slicer, having found it to be the most reliable and flexible. I’ve also used Chitubox and Anycubic’s proprietary slicer, but found both to be lacking in their MacOS versions. Lychee’s latest stable release also has the extra benefit of slicing not only for resin printers but also for filament – meaning it’s a great all-in-one solution if you do multiple types of printing. Be advised that depeding on your printer, the FDM side of Lychee doesn’t always produce the best results, so YMMV.
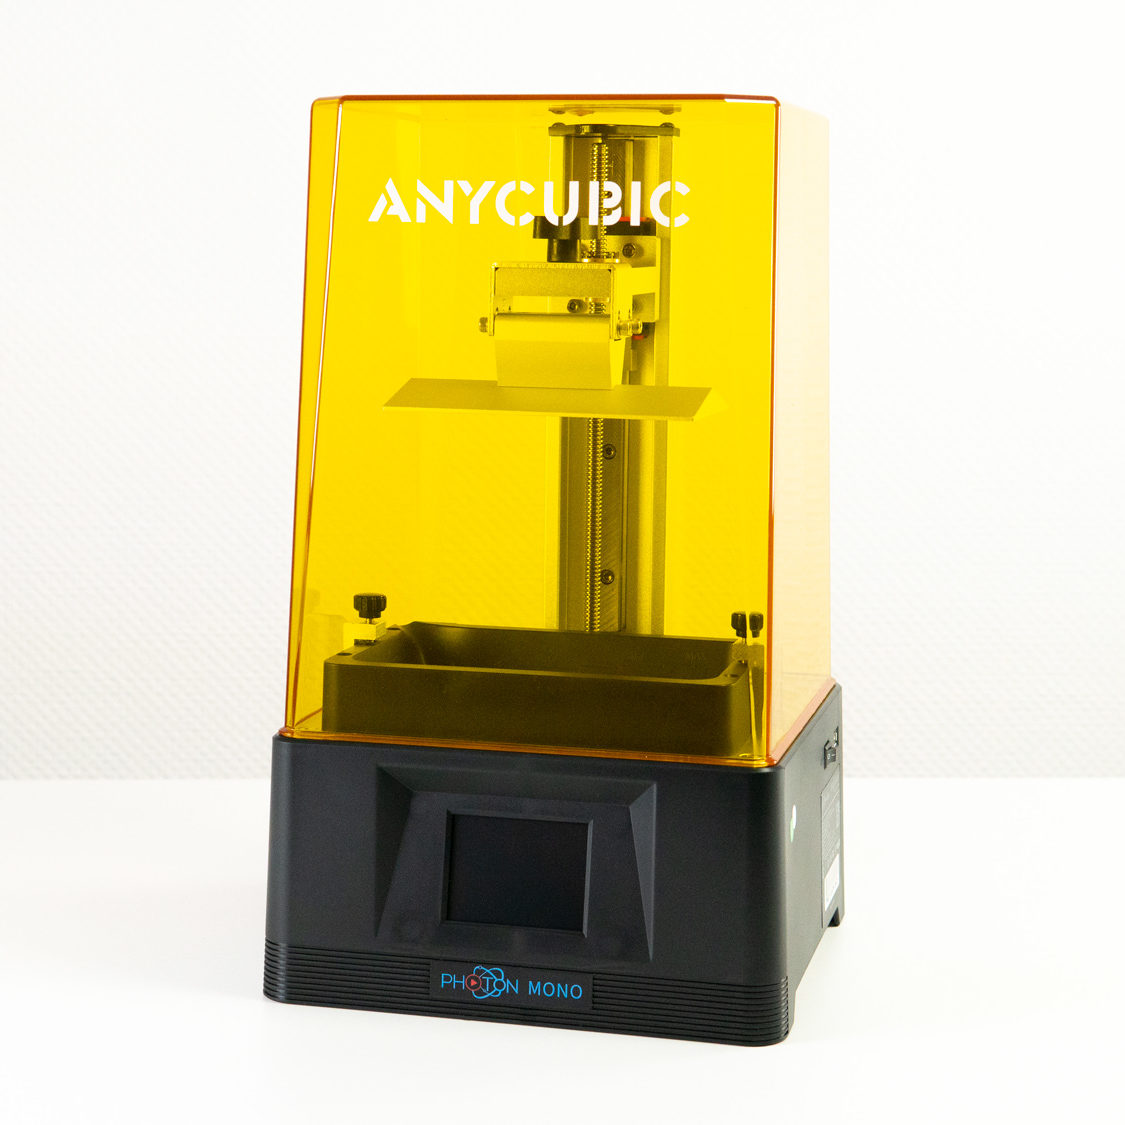
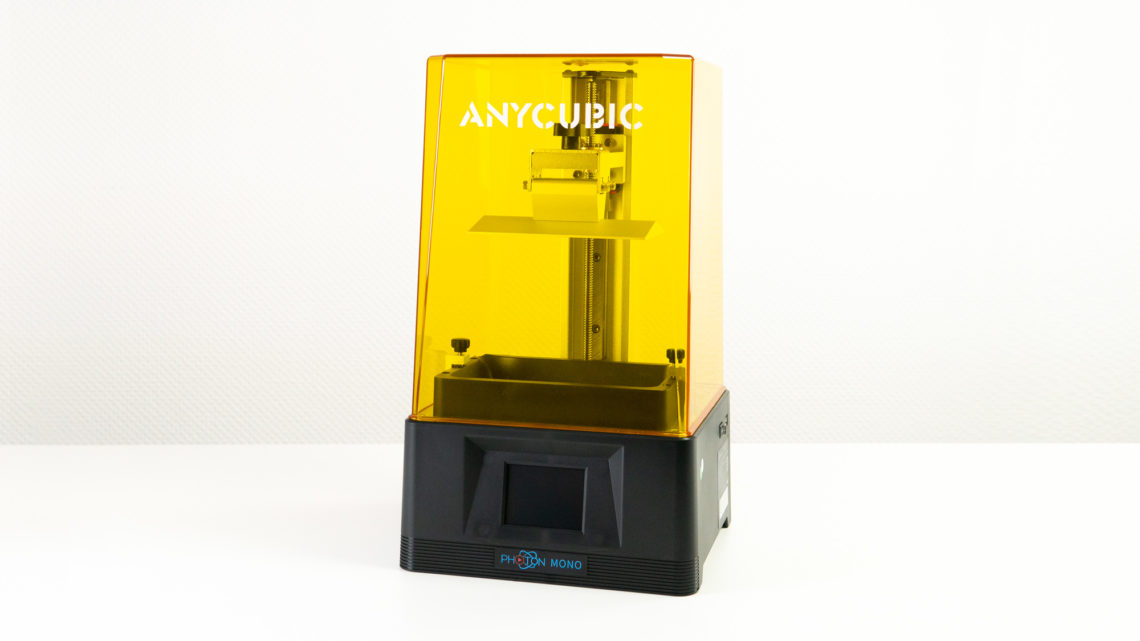
Once I’ve prepared the files and export them to my little USB stick, it’s time to get printing. If you read a previous version of this page, you would have seen that for a while I was using Anycubic resin printers from their Photon Mono series – those were good affordable starter printers but I found them overall to not last very long under the amount of use I was giving them. For a more casual printer I’m sure they would have held up better! I found that replacing broken parts in those machines was pretty easy, but I’d definitely advise buying the parts on the secondary market rather than from Anycubic – the OEM parts are often out of stock and can be cost-prohibitive.
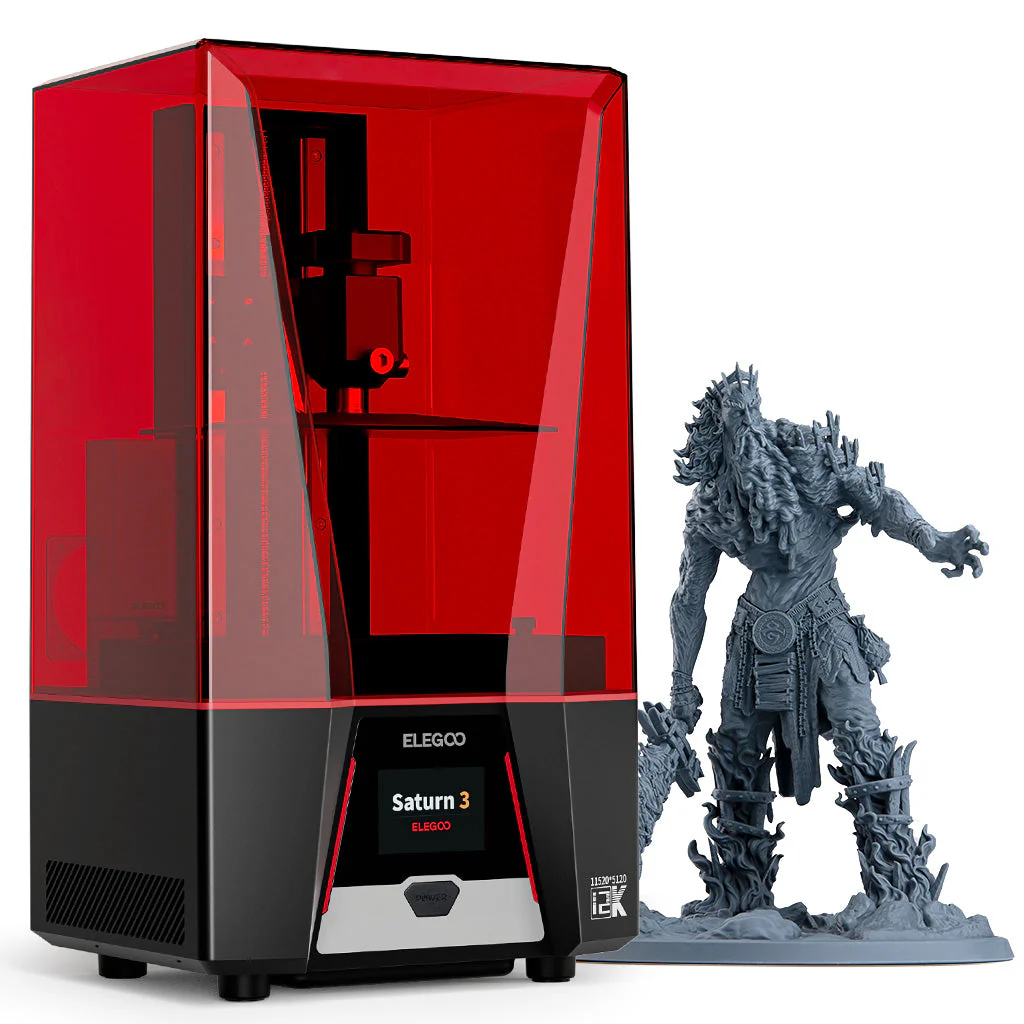
These days, I’m an Elegoo man – I have (2) Saturn 3 units for my main workhorses as well as a Mars 4 unit for smaller one-off projects. Once I got over the initial shock of migrating from the Anycubic ecosystem over to that of Elegoo, it’s been pretty smooth sailing. One thing I recommend is installing a removable magnetic flexible build plate like those sold by WhamBam – it will make your life easier I promise. I actually use a different brand (I bought these from Sovol) and have found them to be great and much cheaper than WhamBam.
TIP: The FEP (the clear thing at the bottom of the resin vat) is your best friend and worst enemy. If it is kept in good shape, your prints will be great; if it is damaged or dirty…you’ll see bad/failed prints. Don’t be intimidated by how difficult it might seem to replace the FEP – watching a few YouTube videos will be all it takes for you to get comfortable with it! And I definitely recommend buying 3rd party FEP sheets (like these) in bulk and cutting them yourself with an xacto knife – it will be SO much cheaper this way than if you bought them from the printer manufacturer.
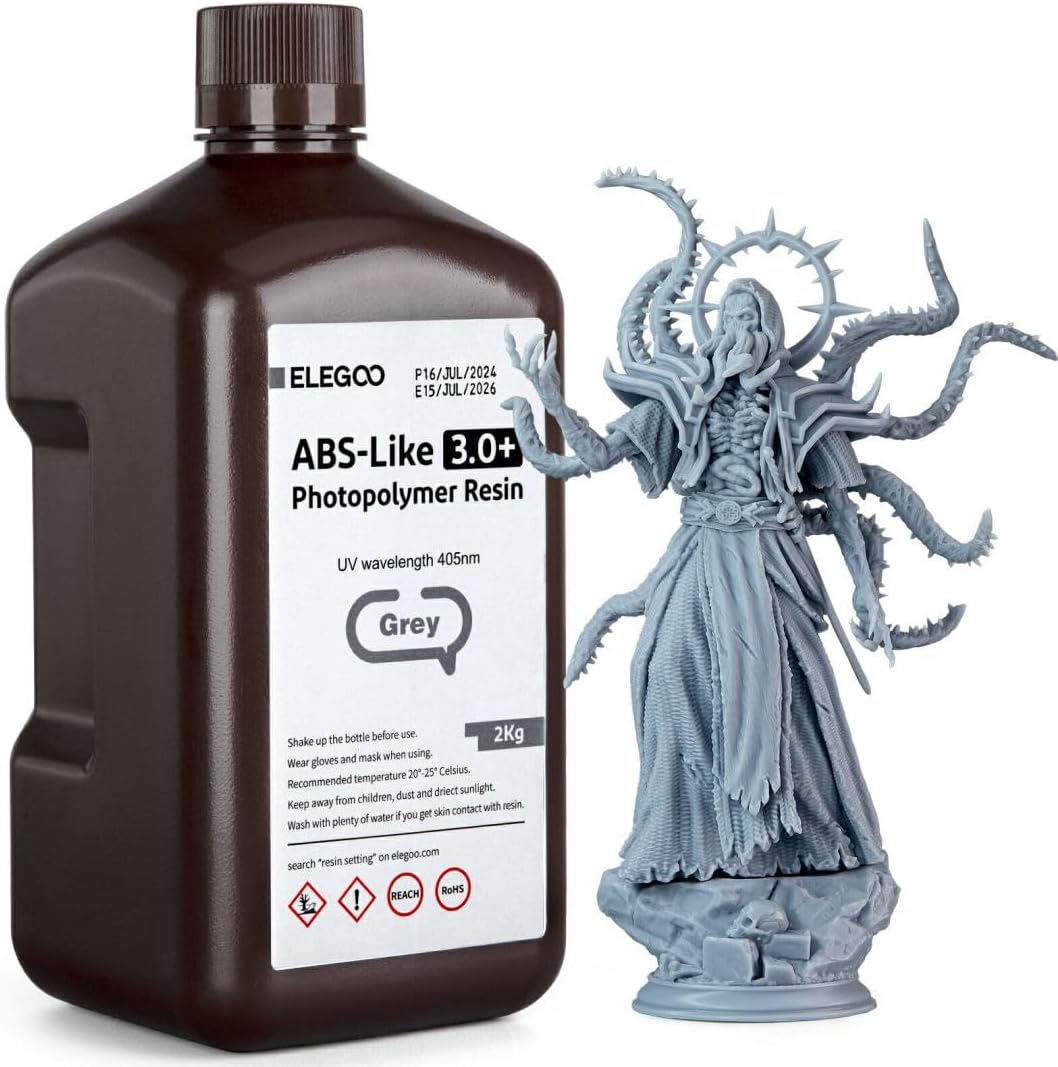
Let’s talk resin. If you buy the “Standard” resin from Elegoo, Anycubic, SunLi, or any other similar manufacturer and just dump it straight into the vat, you’re going to get brittle prints. In some cases that’s fine, but if you want your figures to be more durable and handle the articulation that we all want in a vintage-style figure…you’re going to have to do some mixing. ABS-like resin is good for adding strength. I recommend mixing some of Anycubic’s Tough Resin in with your regular resin for more durability, and even throwing in some Flexible resin (like this stuff) to increase its bendability. SirayaTech’s Tenacious is another good mixing resin for increased durability. Everyone has different opinions on proportions for their recipes, but with a little experimentation you’ll find what works for you. Also, the eco resins are extra brittle in my experience – you can mix them just like Standard resins….but your results will vary.
Here are a couple of sample recipes that work for me:
Action figure parts: mix Elegoo ABS-like 3.0 resin and Anycubic Tough resin in a ratio of 3:1.
Action figure limbs if you want a slight bit more flexibility: mix Elegoo ABS-like 3.0 resin, Anycubic Tough resin, and ResiOne F39/69 in a ratio of 2:1:1. You can also use SirayaTech Tenacious in place of the ResiOne and get similar results.
Rubbery parts like Ewok Hoods: ResiOne F39/69, 100%.
Things like helmets that need to flex but not be rubbery: ResiOne F39/69 and Anycubic Tough, mixed in a ratio of 1:1.
Once I’ve printed something and pulled it off the plate, I dump the printed pieces into a small plastic rubbermaid container. It has some 91% IPA (Isopropyl Alcohol) in it, about an inch deep. I put the lid on it and give it a decent sloshing around – this is my ‘pre-wash.’ I then (using tongs) pull the pieces out and put them into the Anycubic Wash and Cure Station for 2-3 minutes as a second wash. Then they are removed and laid out in a clear acrylic tray (like these) and but into my home-made curing box. It’s basically the inside of a storage cabinet that I lined with aluminum foil and installed a UV lamp (this one) Of course you can use the curing function of the Wash and Cure Station instead, but I needed more space!
That’s basically it. Once the figure parts are cured, you can prime them, paint them, assemble them, etc.
FYI, I made a video a while back that shows my setup that you can watch HERE. And then I hosted a live Q&A from my workshop that goes into much more detail about my process – you can wach the archived stream HERE.
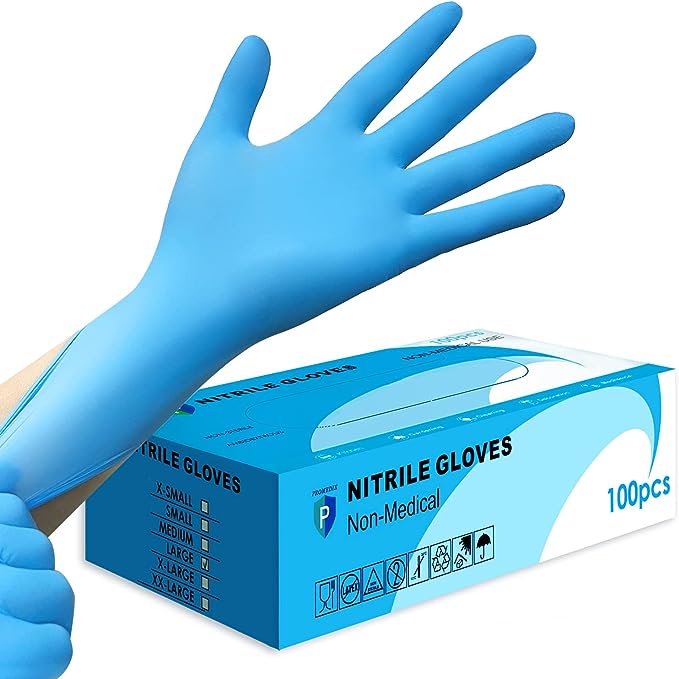
A NOTE ON SAFETY: Resin can be nasty business, as I’m sure you know. It’s very important to wear gloves of the Nitrile variety (like these) whenever you’re handling the resin, open bottles, or any surfaces that uncured resin has touched. I definitely recommend marking areas of your workspace as “gloves” or “no gloves” so you can create a workflow that allows you to minimize your exposure while not having to take the gloves off and put them back on constantly. And when you’re going to have your face over a resin vat or container of 91% IPA, wear a respirator. I use this one.
ANOTHER NOTE ON SAFETY: It’s also key to vent the fumes outside. Don’t even think about putting a resin printer in your apartment bedroom. A garage or basement or outbuilding is much better, and even then – find a way to isolate the machines and ventilate them. Personally, my workshop is in my unfinished basement, and I created an enclosure using hacked IKEA cabinets for my printers. I then ran ventilation tubes from it to a hole I cut in the exterior wall of my house and installed an electric fan to circulate the air from the enclosure out of the house. Works pretty well, and it was super cheap to build. Check out the videos I linked to above to see it all in action.
Other materials you’ll want around:
* No-slip mats to help contain any potential spills. I have these under all my work areas.
* You should have an Air Quality meter in your workspace – I use this one.
* Tongs like these for pulling parts out of IPA baths.
* Silicone funnels for mixing resins, like these.
* A strainer of some sort to make sure any failed print pieces don’t end up back in your resin bottles. I use this.
* Metal catering trays like these that you can use to pour contaminated IPA into, that you can then set out in the sun to evaporate/cure before proper disposal.
* Alcohol inks like these to use in creating custom resin colors.
* PATIENCE. Yeah, you’ll need to have a lot of that on hand too. 🙂